
Repairing the Outer Sills – Part 1
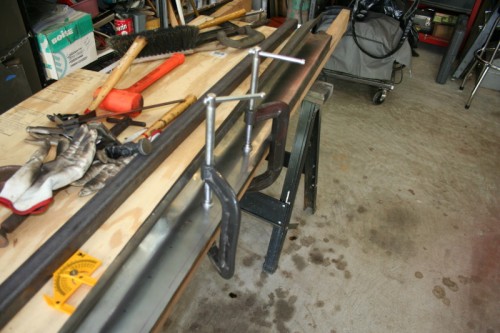
The only tool I had to buy was the yellow angle finder in the photo below. I bought it at HF – I think it was $5. Although I did use the visit to HF to pick up a 230v spot welder for the rest of the sill repair. (I always wanted one and it’s Fathers Day weekend…thks kids). That’s one of the reasons I made the parts. I would rather throw my money to tools than to parts.
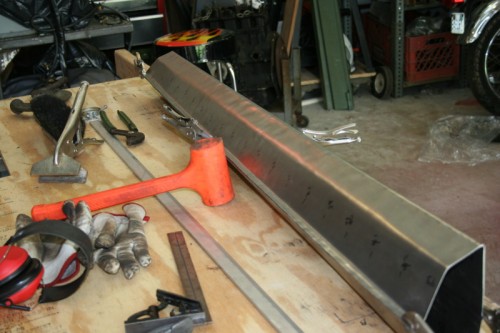
This is the bending down of the flange in about 8″ increments. This is necessary on the bottom where you have the 20* twist, but I also used it on the top to ensure my flange was uniform in size and it also helped straighten out the piece.
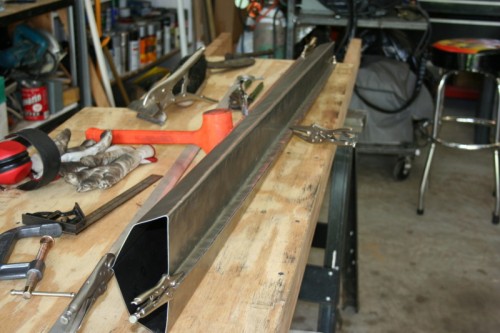
Two pieces matched up to each other. I still need to cut out the bottom drain channels. I will do the first cuts when they are mounted together.
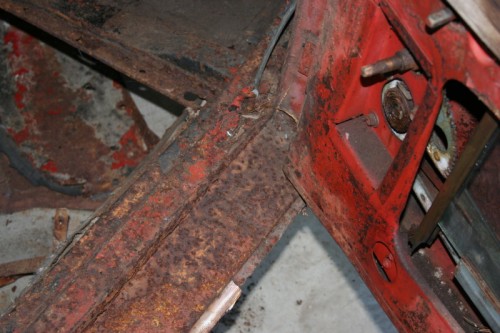
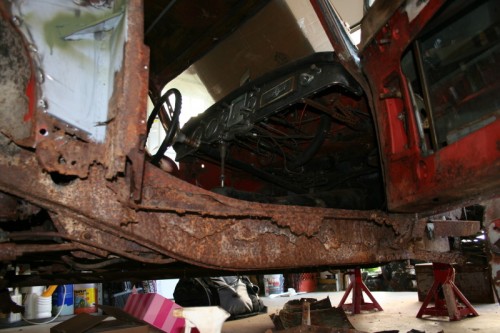
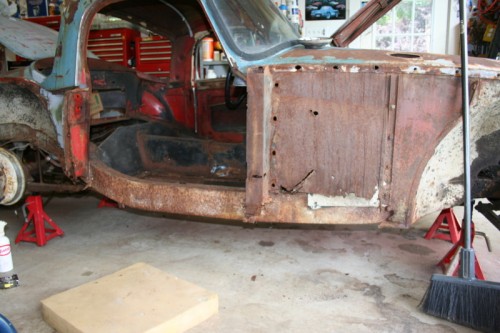
Got 5 hours of uninterrupted time at the garage today and got a lot done. I started by taking pictures and measurements so I could use them as reference to align all the panels back again. I got lucky and the latch on the shut face panel came right off – not so lucky on the door hinges so I just drilled the heads off.


This article continues in Repairing the Sills – Part 2.