Repair of the Inner Sill
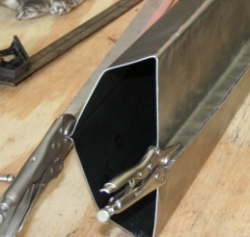
 Tonight is date night with the Mrs., so I nibbled away at the project right when I got home and before we went out. It went surprisingly well…which always scares me.
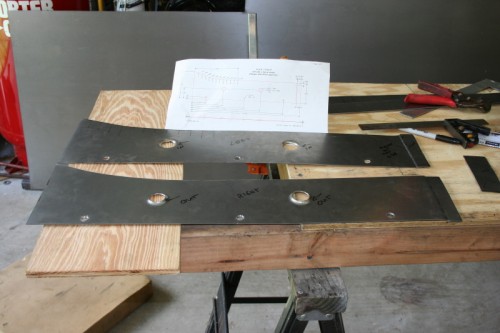
Here I laid out the inner sill according to Barney’s (Gaylord) dimensions and I used my digital 12″ caliper to give me the dimensions which are in inches but in a 100th scale. This was absolutely the easiest way I had to matching the dimensions. These digital calipers are pretty inexpensive and give pretty good readings – way closer than I would ever need. I actually used it once to give me ball park measurements on a crank. I was able to lay out the inner sills and cut them to size and rough cut out the inner sill panels in 1 hour. I have had several email conversations with Barney Gaylord and I think I have my angles all sorted out. Good thing he has this nailed down solid because geometry wasn’t my best subject (ok it was my worst).
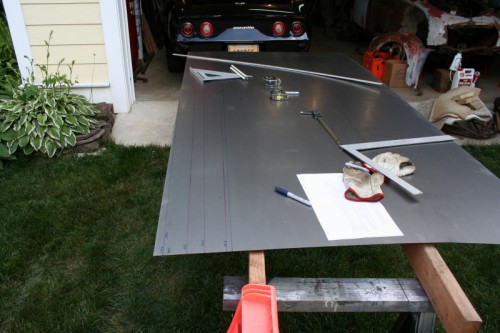
Wow what a fun day. Everything went perfectly. I will say I did a lot of prep work for this to make sure I understood the angles and how to make them. Barney was able to easily answer my questions and point me in the right direction. Thanks Barney.
I laid out the bend lines.
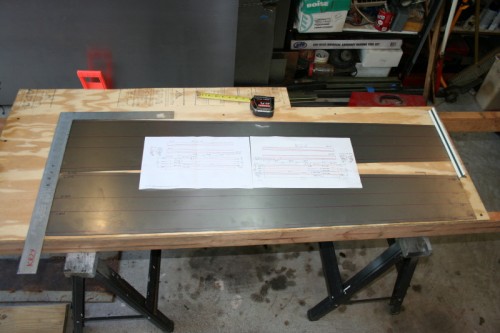
And made a to size template to keep everything straight in my head.
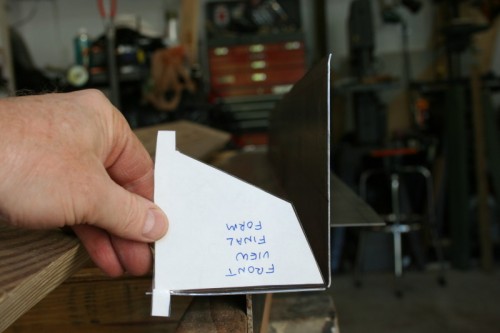
I made the next bend.
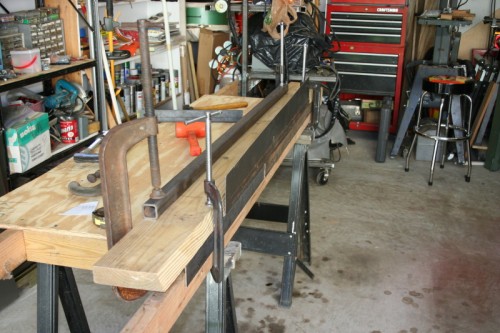
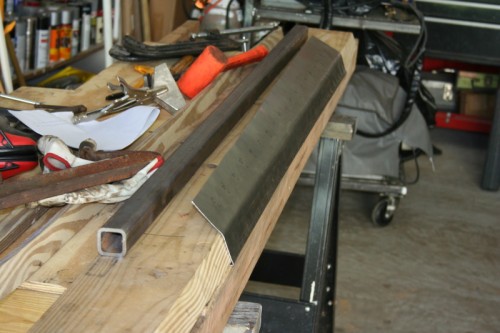
With templates verified I was going in the right direction and I pretty much followed Barney’s write up paragraph for paragraph. I bent the flanges 8″ at a time and measured them so I would have a nice straight and even bend. When you do this much bending on sheet metal it takes on a shape of its own and the flange bend straightens it out again.
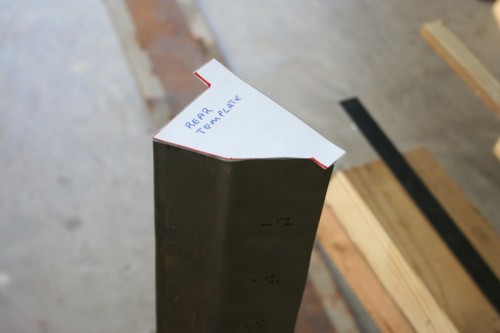
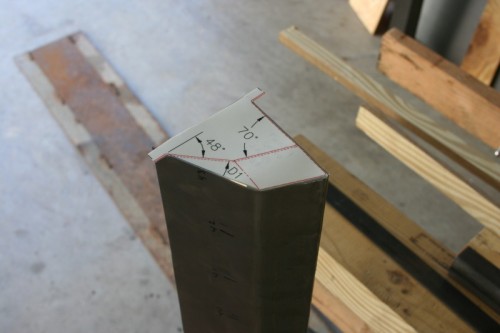
I made the graduations for the twist.
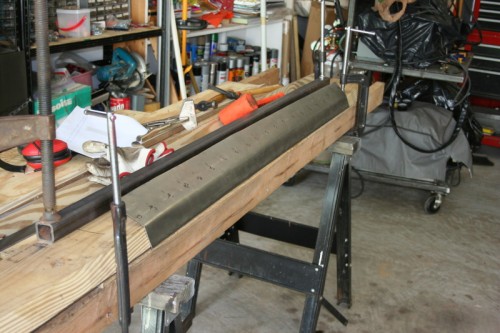
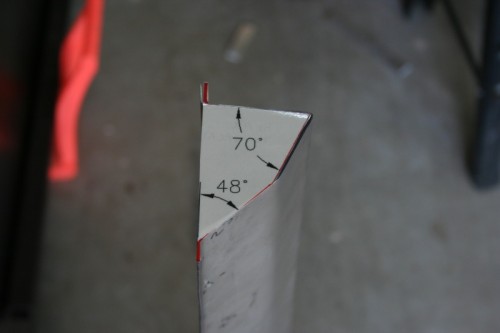
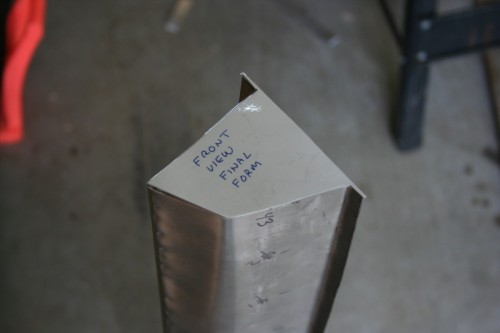
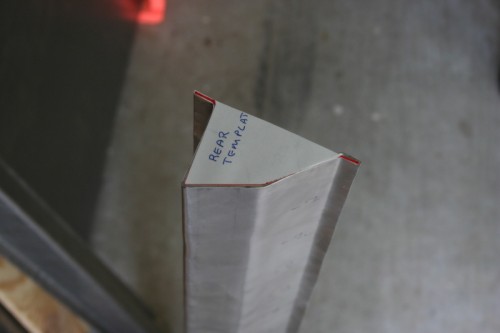
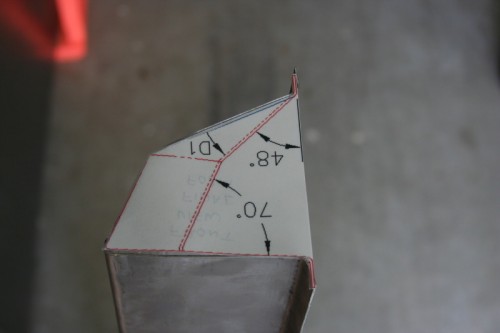
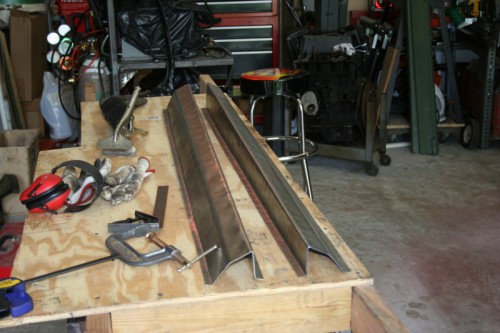
I laid out and cut out the inner panels.
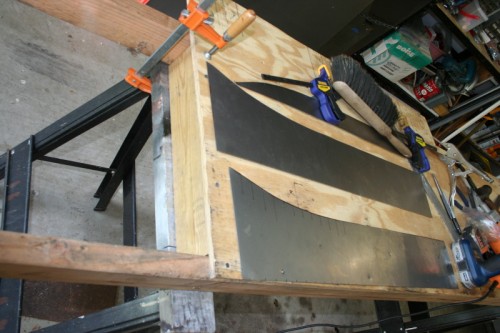
The punch and die for the big flanges.
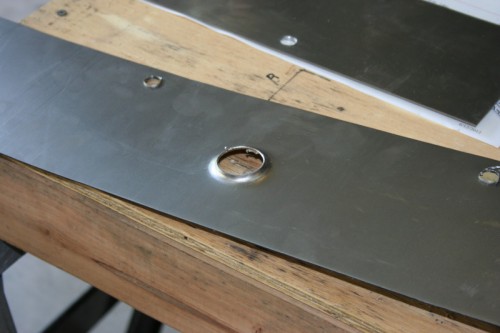
I rolled the flanges and done!
