
Starting the Engine
I want to poke around the engine some more and drain the oil in it and take out the old filter, and remove the starter and generator and see what they look like.
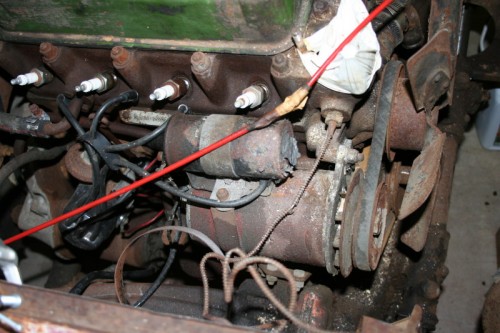
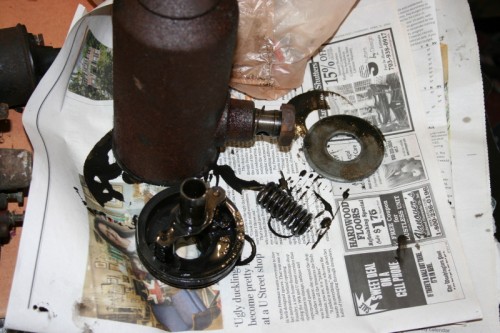
Well I made some progress in taking stuff apart and I found the usual and expected issues….. the oil canister had no seals on either the top or in the bottom of the bottom plate. What looks like a seal is just perfectly formed sludge, and had a large washer that really doesn’t look like it belongs in the filter. I say that because it’s not machined in any fashion on its big surfaces – just left kind of rough. The generator has a broken ear and an undersized screw was in the back. The distributor is stuck in place and is being soaked at the moment with PB blaster, and the starter only hums when 12v is applied to it. Looks like from the wiring on the coil, the car was converted to 12v neg ground.

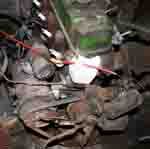
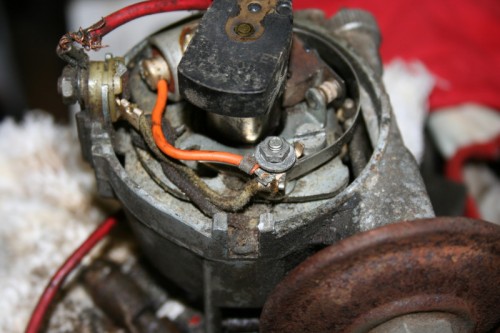
BINGO…..well look what I found…..no doubt the reason it was parked some 30 years ago and explains the new spark plug wires, and distributor cap. My supposition is that one of the previous owners tried tuning it up but I can see it never ran after he changed the points….. I couldn’t believe it and got out an ohm meter to make sure I wasn’t dreaming…..the metal washer on top was touching the condenser tab and grounding out the points.
Today I ordered all the parts I needed to make it run – they should start arriving next week. The starter only hummed when I put power to it so I ordered one and I also ordered a generator since the tab was broken. All I need is to hear the engine run and I will be a happy camper. Once I get the starter I can do a compression check and see what’s going on and proceed from there. I have not checked the valve lash – maybe that will be on tomorrow’s to do list….whenever you find a rookie mistake like that it makes you wonder what else they could have screwed up…
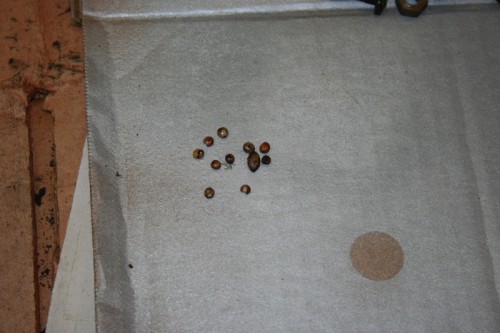
Here are the kernels that I blew out of the cylinder. While I was crawling around on the floor I noticed that for some reason the timing marks were bent backwards and not easily visible, so I straightened them out.
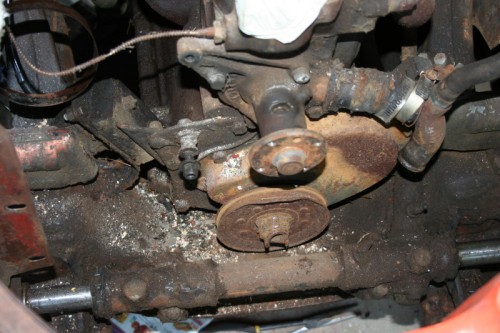
Here is the amount of dirt in this area.
I spent a little bit of time cleaning. The oil filter housing was so badly rusted I had to sand it because I was too scared of getting rust in the oil when I changed the oil so after that I primed it with some self etching primer.
Here’s the work for the day. I sanded the fan and painted it with a high build primer. I painted the pulleys with satin black and the oil canister is painted with “cast iron”. The thing the oil canister and fan are sitting on is a “lazy susan” base and it rotates so I can stay in one spot and move the piece being painted.

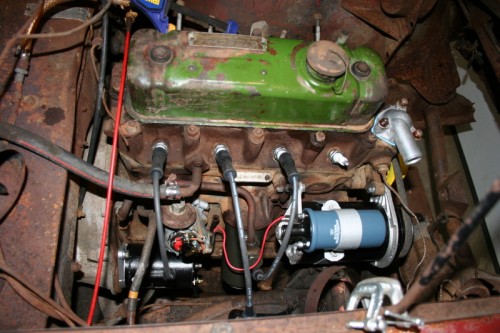
Today I took advantage of some nice weather and in anticipation of trying to make the beast run I back flushed the radiator, cleaned the inside of the valve cover, moved the engine to TDC compression stroke of number 1, scraped, sprayed and wiped the engine with brake clean. I got a bunch of parts in but I am still missing the thermostat housing so until I get that hopes of getting it to rumble to life are delayed. It took me about 30 minutes to get the oil filter in place and I scraped the old gasket seal for about 30 mins also. But in the end I got it in place what a PITA. I also JB Welded the broken intake manifold back together for the test run, I will replace that later. I have always wanted to actually test JB Weld on a repair like this, maybe we do some testing on trying to break it after I get a new one…I also added the oil to the car, its first oil change in at least 28 yrs.
Who knows what other colors I will unveil as I keep cleaning… the goal is to have the engine running tomorrow night…..tonight I put in a new starter, new generator, new coil, points, condenser, spark plugs, distributor and wires, and reinstalled carbs and radiator pulley. I static timed the engine to 10* BTDC. I did a compression check twice and the first time the readings were 90,60,110,90, the second time it was 105,105,130, 115 you could literally see it gain 5psi with each compression stroke. The number 3 cylinder was the one with the kernels in it. I am not worried about these readings because the valves have rust and mouse pee on them etc….so I think the real readings will come after some combustion has taken place. And we have 20 psi on the oil gauge when I was cranking it for the compression test.
Starter and generator from Autozone with a lifetime warranty and rebuilt in the USA and very affordable. I like the parts from there. I pay careful attention to plug wires and firing order and triple check this. I have seen too many guys with big egos screw up the firing order. I found it makes the most sense to lay the wires out before you cut them to size.
Tomorrow night we hook up the radiator and hoses and a gravity fed fuel tank….and off we go.
Well she runs and breathes……….no surprises, the JB weld did not hold so no more fine tuning until I get a new intake manifold. I will take a break for several days, and pay some attention to the Mrs. 50 psi of oil pressure at 2000rpm, no noticeable oil consumption other then burning off the trans fluid, I used to “free” the rings.