Tech Talk – MGA Ignition Timing

 Setting Static Timing with Pertronix ignition fitted can be done the same way as when points are fitted.
- First find top dead centre (TDC) on #1 piston on its compression stroke. A simple way to do this is to remove #1 spark plug and ask your assistant, also known as the wife, to put her thumb over the plug hole. Then turn over the engine with the starter (key in off position) until a “PHSST” sound is heard. Put a probe into the plug hole to confirm that the piston is near the top.
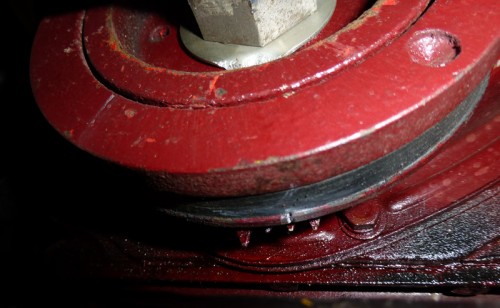
- Now get under the car and look at the lower edge of the crankshaft pulley. You should see a small notch in the back edge of the pulley. You wil also see the 3 (or 4) pointers fixed to the timing chain cover behind the pulley.
There is one long pointer, for TDC, and 2 (or 3) shorter pointers which are for 5o and 10o (and 15o) before TDC. You will have to put a large adjustable wrench on the crankshaft nut and rotate the engine anti-clockwise until the notch in the pulley is before all the pointers, then rotate the engine clockwise until the notch is in the position against the pointer matching the static timing for your engine.
In the photo the notch is on the 2nd short pointer as this is the 18GB 1800cc engine, and the spec for the static timing on this engine is 10o BTDC. (High compression engine).

- For the 1800cc low compression engine, the spec is 8o BTDC.
- For the 1622cc engine (16GC), the spec is 10o BTDC for the low compression engine, 10o BTDC for the high compression engine up to engine #4003, and 5o BTDC for high compression from engine #4004.
- For the 1600cc engine (16GA), the spec is 6o or 7o BTDC (depending on which issue of the Workshop Manual you look in).
- For the 1500cc engine (15GB and 15GD), the spec is 7o BTDC, i.e. between short pointer #1 and short pointer #2.
- Next release the distributor clamp (7/16” AF spanner) until the distributor can just be rotated by hand.
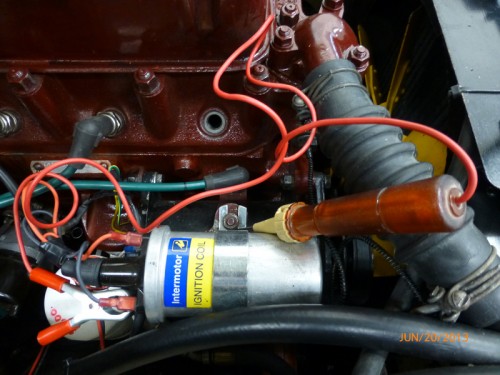
- Fit one end of a test lamp on the –ve terminal of the coil. This terminal will also have the black wire from the Pertronix/distributor fitted to it (on –ve ground systems), and ground the other end of the test lamp).

- Turn on the ignition. Rotate the distributor anti-clockwise until the test lamp has gone out. Now slowly rotate the distributor clockwise until the lamp just comes on (Do this step a couple of times to be sure it is just on).
- Clamp the distributor. Disconnect the test lamp, and refit the spark plug and plug wire.
You are now set to go.


Comment by: Clive F Allen
Whats happened to the mga threads where you could communicate or obtain information or am i missing something??