
Front Frame Extension

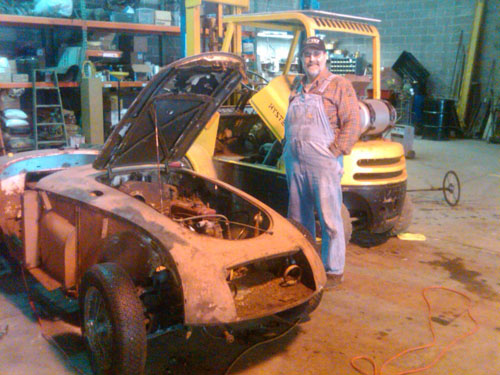
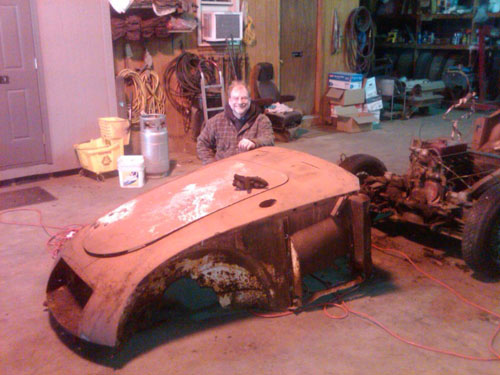
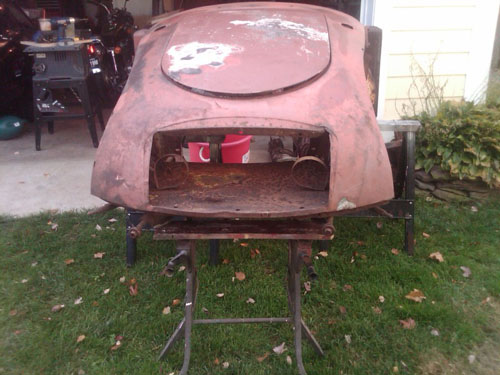
What a great day yesterday was! I got to go on a road trip with my oldest son, meet fellow NAMGAR member George Kress, work on an MGA and tour George’s car collection. George had been watching my post and realized he had exactly what I needed and offered a donation to the cause of a front shroud, front frame extension, and unbent radiator. I gladly accepted this generous offer!
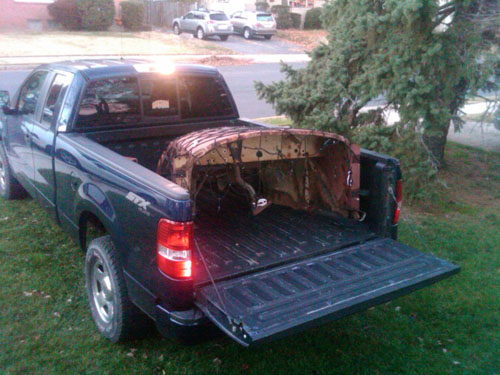
Our road trip started at 6:00am yesterday and we reached George’s shop by 9:30am. We started the disassembly process and by 11:20 the three of us had wrangled the front end off the parts car. After we got the shroud loaded into the pick up the fun really started and we toured George’s extensive car and parts collection and enjoyed every moment of it. About 12:30 we had everything loaded up and headed back home. It was a great day with my son and it was really enjoyable meeting George and I look forward to seeing him again at one of the NAMGAR car shows….maybe even with my coupe wearing the new front end!
I use two MIG welders depending on the size of what I am doing, both with gas. The big one is 240v Hobart Handler 190 with .030 wire or .035 wire and the small one is a 120v Lincoln MIG Pak 100 (I think that’s it) with .025 wire. The key is the wire size and to use gas. You can always back your metal up with copper if you are getting burn through. As for the settings I pretty much use the guide inside the door. I have been welding sheet metal on cars for so long now it kind of comes natural to me. You need to get up close and personal with the metal to see what’s going on, and I use the auto darkening welding helmets. I also use either a zig-zag weld pattern or a moving circle pattern. I think I will use the TIG welder on the front shroud repair. I have just OK TIG skills but this will definitely let me sharpen up my skills.
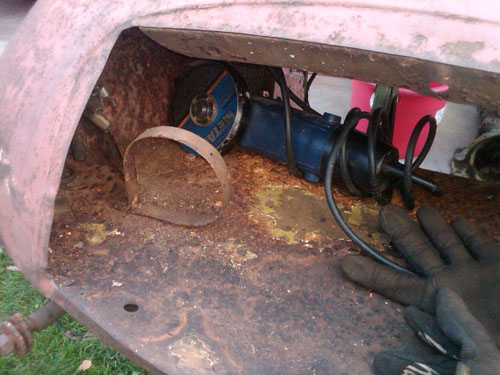
Well I got to work this am on removing the front frame extension from the shroud and worked on it a little bit to bring it back into tip top shape. One of the bumper mounts got bumped when the car got moved into the shop and it broke off when I removed the frame extension and it will get welded back on later this week.
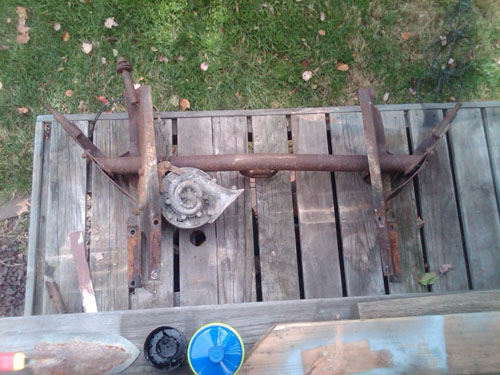
Here is how I will remove the bolts.
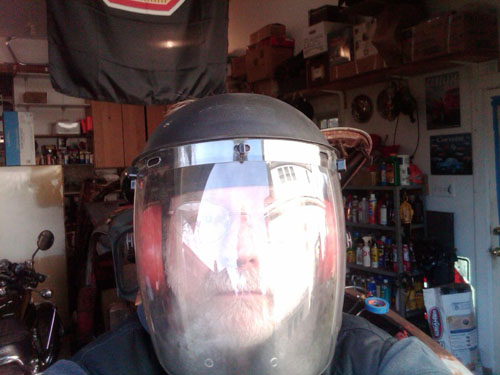
I take this stuff serious and I gear up for it and use a full face mask, hearing protection and thick leather gloves, not like these numb nuts on TV who use no protection.
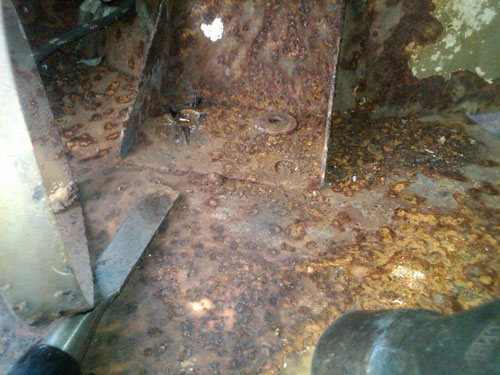
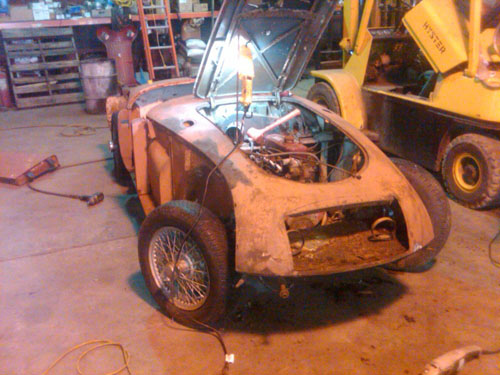
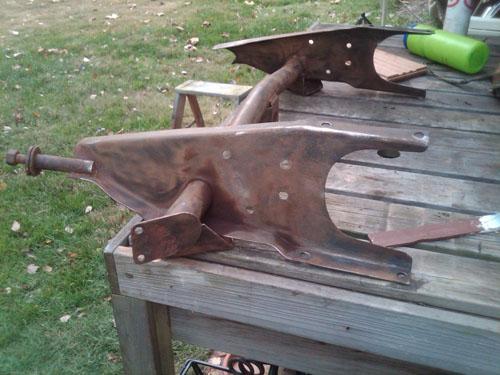
Here it is removed.
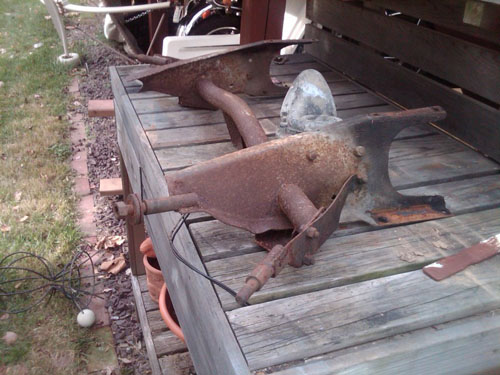
All and all it’s in pretty good shape and way better than my mangled on on the coupe.
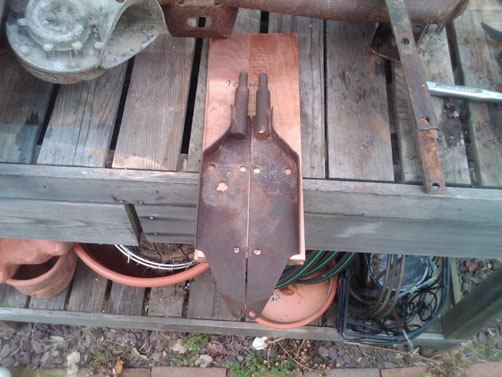
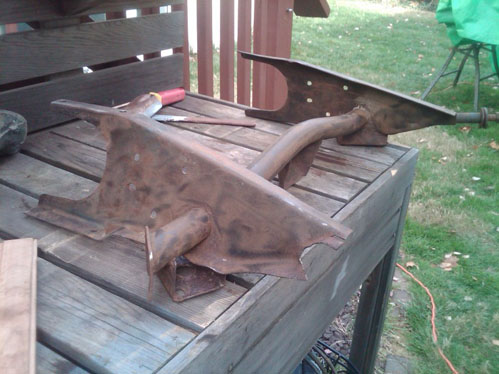
Here are the side extensions hammered back to shape. It didn’t take much.
Working out a little dent – we won’t let momma know I am using her potting table…
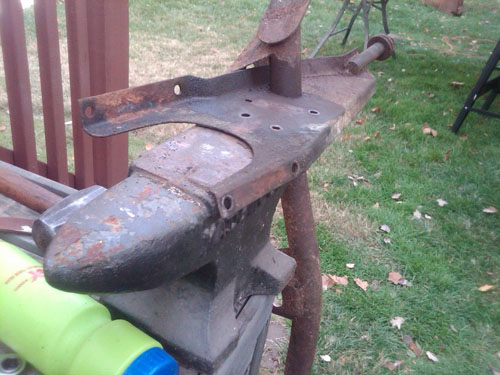
Here it is wire brushed.
I printed off of Barney’s site the front frame extenson dimensions and will use that as a guide to finishing the reworking of the piece.