
Back to the Inner Sill
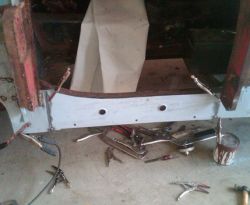
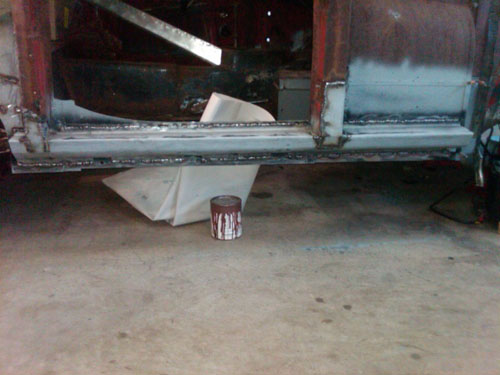
Time to wrap up this side…..tonight I welded the inner sill and patch panels into place. I spaced the welds about 1″ – 1.5″ apart and started at the middle and worked my way out. Metal has a way of growing on you when it gets hot.
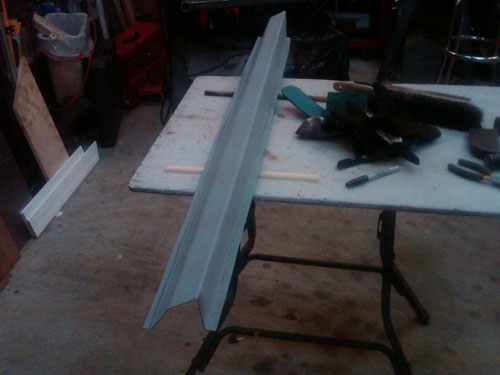
Tomorrow I will go back and fill in all the voids and grind the welds down. Here’s the trial fit.
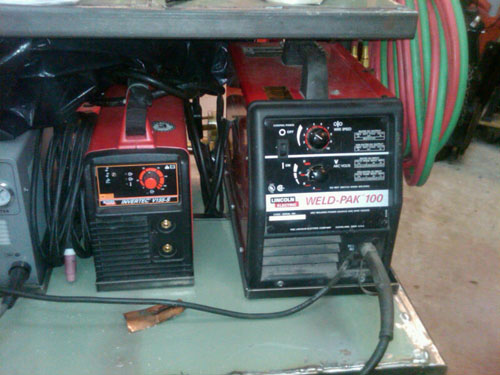
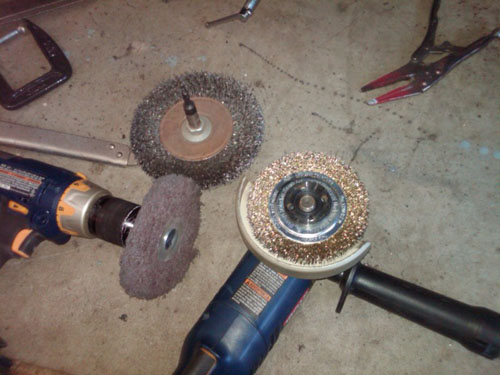
Here’s the welder for the sheet metal using .025 wire. I have welded more with this welder then you can possibly imagine and it keeps on going.
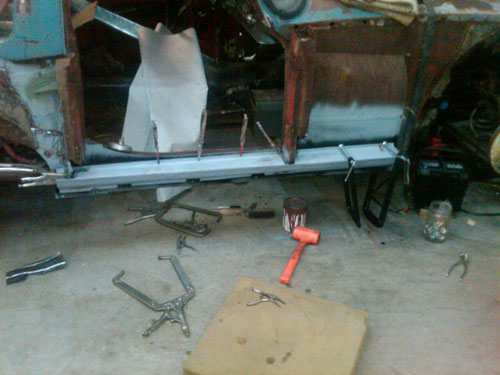
Here’s the last of the welding. It is important to have lots of clamps or vise grips holding things tight.
I finished the inner sill welding tonight. I used a wire brush to make sure that there was no paint left between the areas I was welding.
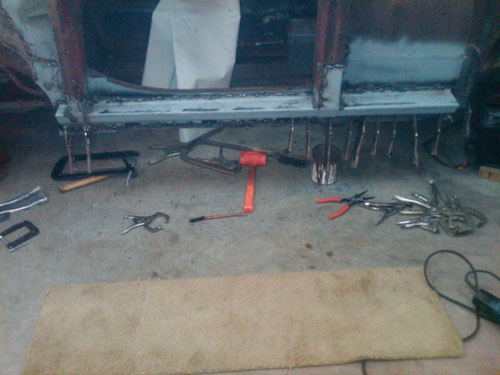
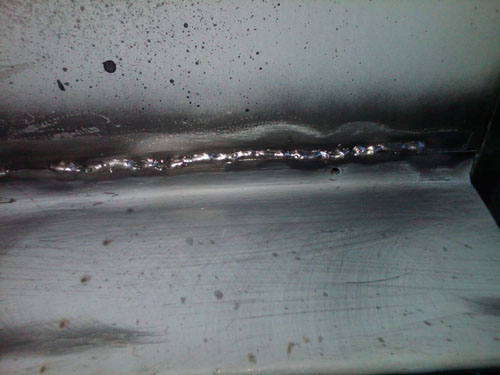
It is important to inspect the welds….if you look closely you can see my bead in the middle is a little too high and moves off the bottom piece. Look for the straight shiny line. This is no big deal – just lay another bead along side of it.
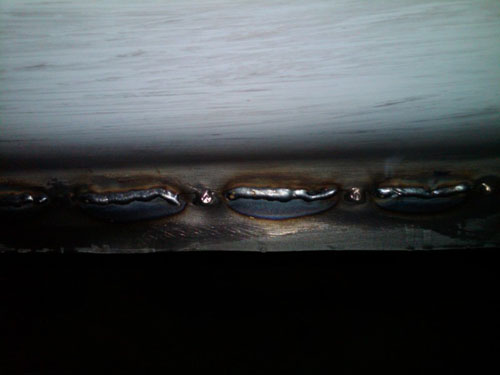
Here’s a good example of the original tack weld and then the follow up running bead.
Now just have some grinding to do and we can paint it.