
A Family Restoration Story – Part 2

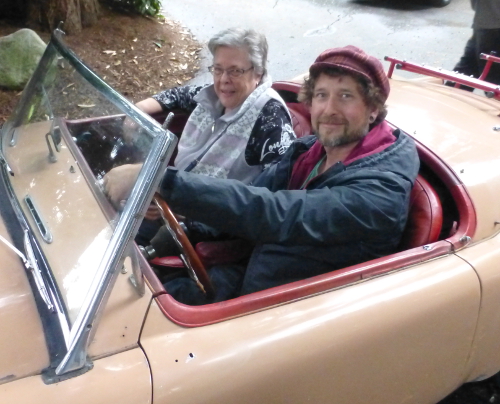
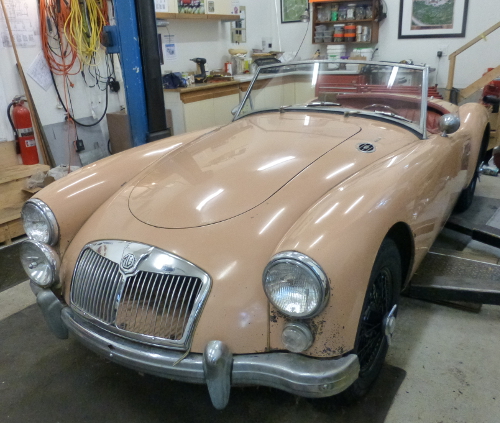
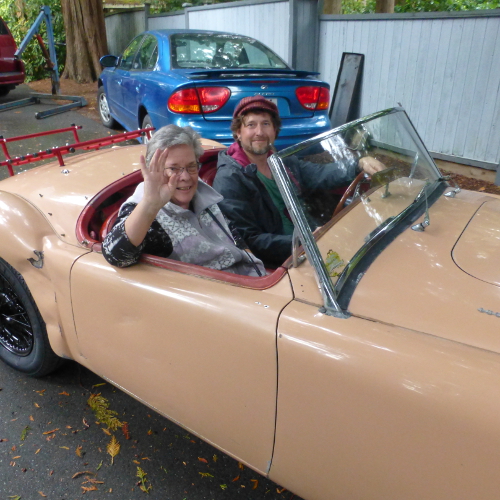
 The 1960 Alamo Beige MGA roadster became mobile again on September 30th, 2017. It had not been driven since 1973. Graham and his mother, Carol, drove in the car, he for the first time ever!
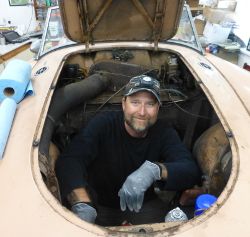
Steve Kaufmann and Peter Tilbury worked on the car for more than 2 months in Peter’s garage. Close examination revealed more items that needed attention, and this was not surprising, as the car had sat for a very long time. Over 130 new parts were installed.
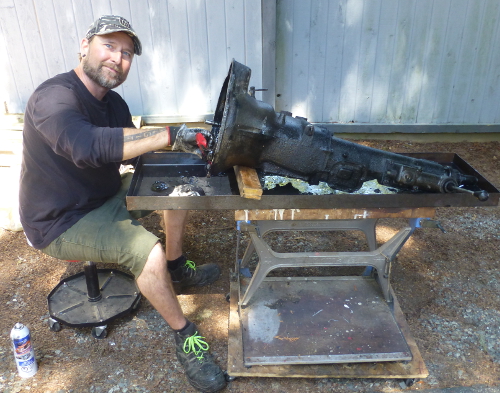
We started by removing the fuel tank, the exhaust system, the engine and the gearbox. The 1600 engine had a broken crankshaft, so it was replaced by an exchange engine. The carburetors came to us separate from the car. They had been stripped down completely to all their component parts by the owner, 44 years earlier.
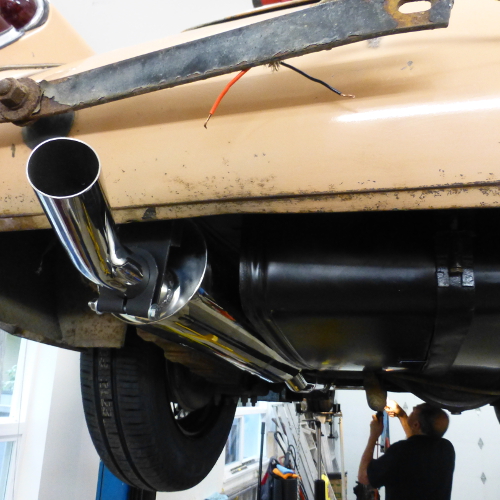
The majority of the parts that were needed for this car were purchased from Scarborough Faire, with some additional items from MOSS. While most of the parts are of good quality, we did encounter some fitting issues. The stainless steel exhaust system came in 3 pieces – the front down pipe, the pipe under the driver’s seat, and the muffler. The first 2 pieces fitted OK, but we could not get the muffler to fit initially. This misfit was solved by cutting 1” off the second pipe, and this allowed the muffler to be positioned correctly.
When we installed the fuel tank, placing the mounting straps in their locating tabs on the tank, the filler pipe was too far to the right of the hole in the boot floor. We had to remove the tank, flatten down the right hand side of the tabs, and reposition the tank straps over the flattened tabs. This then allowed the filler pipe gasket and gasket cover to be fitted, as the tank was now ½” to the left.
Before rebuilding the carburetors, we ordered a major overhaul kit from Scarborough Faire. However, when we got the kit, we found that Scarborough Faire did not include the shafts and bushes. (MOSS does include these in their kits). So waiting for these parts delayed the carb rebuild by about a week.
As expected, we replaced the brake discs, calipers, wheel cylinders, brake shoes, and hoses. However, we found that the steering seals and suspension rubbers had disintegrated, so we had to rebuild the king pins, and re-bush the A arms. We also fitted a new brake master cylinder, new clutch slave cylinder, and the slave cylinder hose. The original steel brake and fuel pipes were retained.
We removed the big 12-volt battery that had been installed in the RHS battery carrier, but the carrier was too rusted and broken to be used. Therefore, we installed a new group 26 battery in the LHS battery carrier after extending the battery cables. We also converted the car at this point to negative ground.
We refitted the gearbox and engine after installing a new gearbox mount, front and rear gearbox seals, and a new release bearing. Then we installed the rebuilt carburetors, but on connecting the new fuel hoses, we discovered a serious fuel leak from the rear carburetor. After two 4 hour sessions, with the carbs off and on many times, trying to trace the reason for this leak, we found that the jet springs supplied in the rebuild kit were about 3/8ths of an inch shorter and softer than the original springs. We put the original springs into both carbs, and the fuel leak was fixed.
We checked the wiring harness and found that it was intact, despite various critters having nested in the car. All the lights worked, the wiper motor worked and the non-original Facet fuel pump worked. But the head light/side light switch and the dipper switch had to be changed.
The engine did not fire up right away. We changed the coil, the distributor, and the plug leads. It then started and ran well. After tuning the carbs and setting the timing, we refitted the original ignition items we had removed. It ran with the original coil, but did not run with the original distributor. We replaced the rotor arm in the distributor, and this solved the distributor problem.
When we installed the generator, we found it was not charging. The brushes appeared to be good, so we suspected that the field winding had failed. We fitted an MGB alternator, and by-passed the control box.
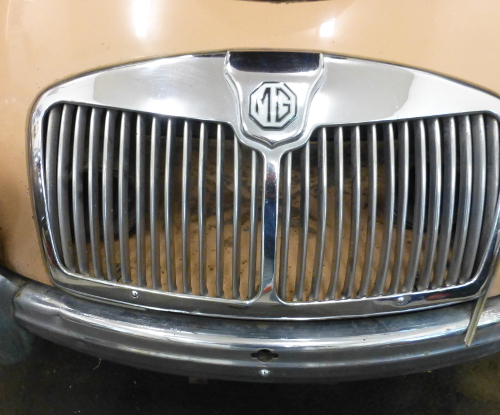
While all this mechanical work was being carried out, Graham was working on the paintwork and chrome. He clay barred the whole car, and then polished and buffed the paint. You may not see this in the “after” photographs, but the original shine was restored. For cleaning the chrome, he used a method he found on an internet search – aluminum tin foil, the type your mother uses on her roast turkey, was scrunched up and dipped in water. The chrome was then lightly rubbed with the shiny side of the tin foil. It was amazing how the chrome bumpers, grill, and windshield frame came back.

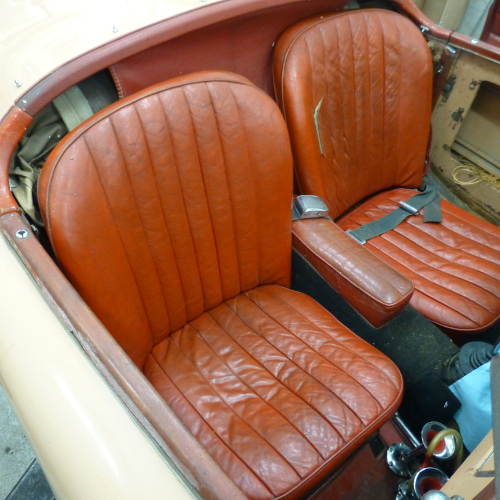
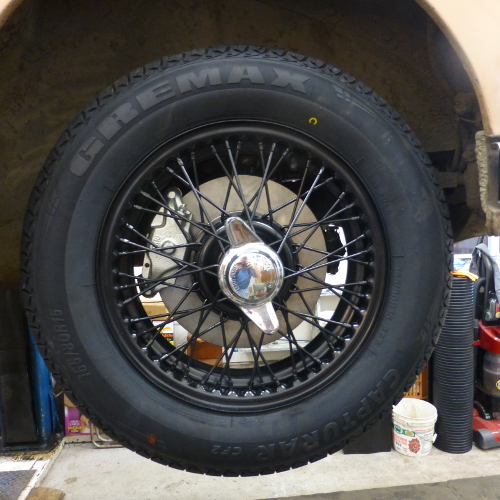
Graham reinstalled the seats, and tidied up the door interior trim. We showed him how to put the roof up, but the plastic windows were cracked and severely darkened by the passage of time. He had the 48 spoke wheels sand blasted and powder coated black, and the result is quite sharp. He painted the boot rack red to match the interior.

It was satisfying to see him drive the car away with a huge grin on his face. His mother was also beaming when she followed him home. The car is definitely not concours, but IT IS RUNNING AGAIN!
P.S. Graham’s wife, Crystal, had their first child at 10.00pm on the same day the car was driven. Baby Sebastian might be the third generation to drive in this car.