
Project MGA: Part 5 Body Preparation

Following on from last month’s report on the fitting of the Vitesse gearbox and the sand blasting of the body, this month we focus on the body preparation ready for painting.
Cotswold Accident Repair Centre, which is based in Witney, Oxfordshire, is undertaking this work. They are specialists in this field with years of experience behind them. The body has been sand blasted by them, and now the hard work starts.
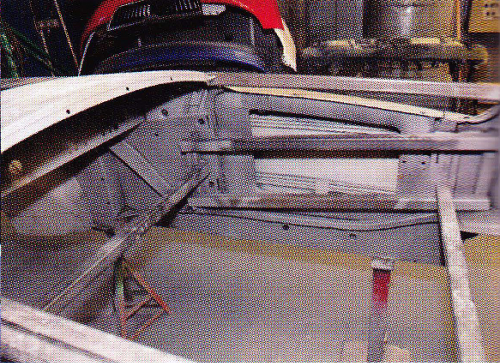
But before we go on to the body preparation, let’s do a quick recap. Before removing the body from the chassis they checked all the panel gaps and made sure they were good. They then braced the car so there was no movement when the body was removed from the chassis, making a note of any packing pieces fitted, so when the body is refitted to the chassis the same number of packing pieces are used to retain good panel gaps.
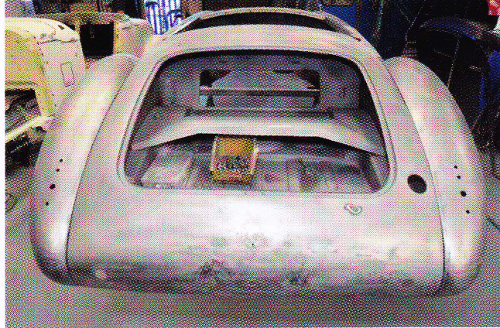
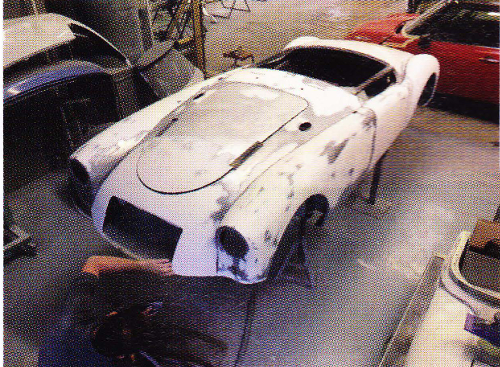
The sand blasting has removed all previously applied filler and this has shown up damage to the front and rear ends of the car where at some time in the past it has been involved in a collision. The damaged radiator duct was removed which gave them access to the back of the front shroud.
This was repaired by using MIG and Spot welding. Welding has also been carried out on the rear panel and rear wings, also due to previous accident damage. Other than this the car is in very sound condition with the box sections and internal panels in remarkably good rust-free condition. This is mainly due to the perfect climate conditions in California where the car has spent most of its life.
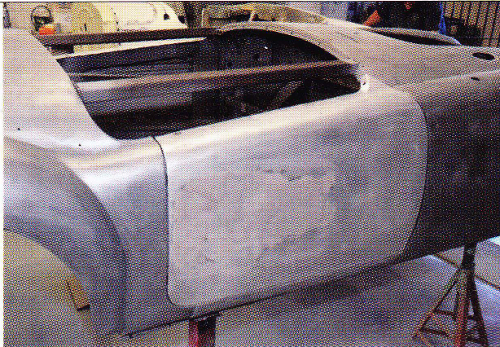
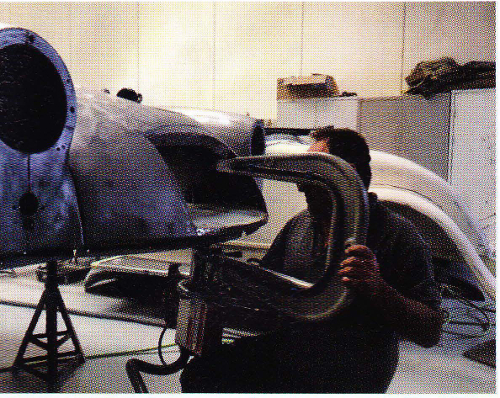
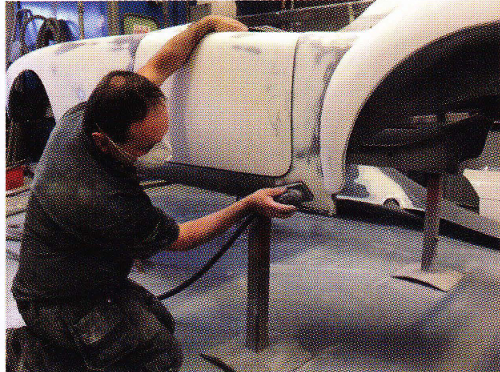
For preparing the body after sand blasting/welding repairs, an orbital sander with a 120 grit pad is used to achieve a smooth finish which would bring to light any dents or imperfections. Any dents would then be f iled as necessary so less filler will be needed. Then the panels are skimmed with filler and rubbed down until straight. Finishing is done by hand with 240 grit long and short sanding blocks.
They do not use lead loading for dent filling. But if lead is found on the car, normally used at the factory on panel joints, it is checked and if sound is left as it is.
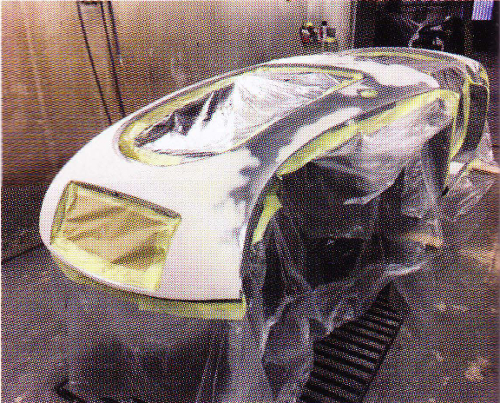
After all the preparation work has been finished, they etch prime the whole car with three good coats of high build primer. This is then baked and left for a few days to dry, to stop any paint movement. This will then be rubbed down with 240 and then 500 grit-sanding blocks. The car is being repainted in Pewter Metallic, which was a limited edition MGB colour. This colour will be the base coat, with two coats of clear laquer applied over the top.

In part 6 of the project we will cover the body being returned to RPS to be mated to its chassis and the final build.
NAMGAR wishes to thank Andy Knott, Editor, Safety Fast! magazine, for permission to reproduce this article.
Comment by: Andrew J. Wallach
What type of filer did you use? Did you put the filer on before you etched prime? I thought you were supposed to etch prime the bare metal before using filler?